









Published 29 October 2026 · OFM4x4.co.uk
Two air fittings can look almost identical and still belong to different connection systems. An adaptor that appears to start threading is not proof that its thread or sealing method is correct.
Make an inventory before ordering a replacement hose or remote outlet. Include every connection from the compressor to the accessory, not only the last quick-connect coupling.
Match the documented thread standard, coupler profile and sealing method at every joint. Check the complete assembly's pressure and temperature requirements against the compressor instructions. Do not force a nearly matching fitting or rely on a hose's pressure rating alone.
Separate the two connection types
A threaded joint and a quick-connect plug need different identification. Record both ends of each hose and adaptor, including manufacturer part numbers where available.
ARB parts documentation identifies particular thread types and couplings within its compressor assemblies. This is a reason to use the correct diagram, not to assume all fittings sold as air accessories are interchangeable.
Identify the thread precisely
Confirm size, thread standard and the manufacturer's sealing method before assembly. Photographs can help a supplier, but an unknown fitting may need proper identification.
Do not force a thread that stops early or becomes tight immediately. Avoid trying multiple near matches, which can damage a port before the correct fitting is found.
Match the quick-connect profile
Check the plug and socket standard, retaining action and intended application. Similar external shapes can conceal different profiles.
For an approved combination, verify that the coupling is fully engaged and inspect its condition as instructed. Do not treat a connection that merely holds without pressure as a compatibility test.
Consider heat as well as pressure
ARB markets specific high-temperature pump-up hoses, demonstrating that temperature resistance is part of a compressor hose's specification. The outlet arrangement can encounter different conditions from the remote accessory.
Use the exact compressor and hose instructions to identify any required heat-management section. Do not replace a specified braided or temperature-rated component with generic workshop hose.
Route and depressurise correctly
Protect an installed hose from rubbing, sharp edges and unsuitable heat exposure. Leave the intended service access and secure it with the approved arrangement.
Before disconnecting or changing components, follow the system's isolation and depressurisation procedure. Never loosen a pressurised fitting to identify its thread.
| Component | Confirm before assembly |
|---|---|
| Threaded port | Size, standard and sealing method |
| Quick connector | Matching plug and socket profile |
| Hose | Required pressure and temperature suitability |
| Route | No rubbing, pinching or unapproved heat exposure |
Order from a complete list
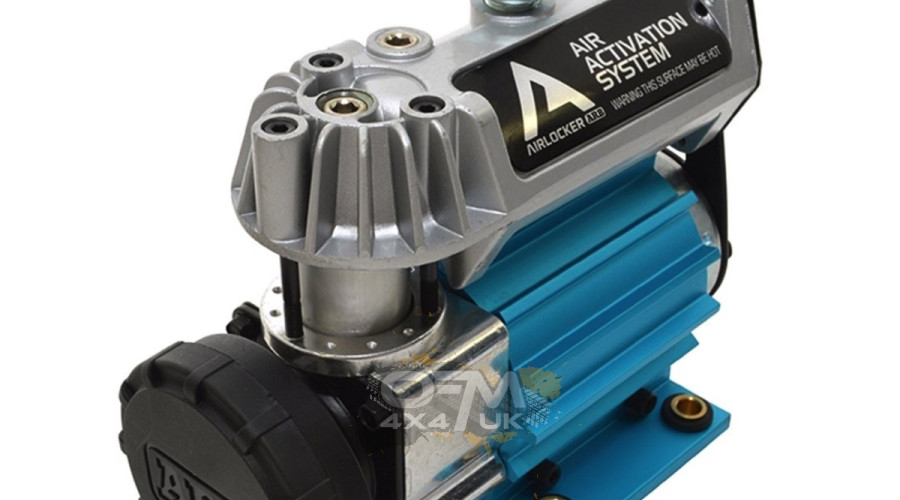
Provide compressor model, proposed function, hose length and identified connection types. Compact locker-only equipment should not be treated as a tyre-inflation system simply by adding an outlet.
Contact OFM4x4.co.uk with the model and fitting details for equipment selection help. Confirm the full hose assembly's suitability rather than buying adaptors one connection at a time.
Manufacturer and reference information
References checked 12 October 2026. Follow the instructions for the actual equipment; examples from another brand do not establish its limits.
Related Products


Leave a comment